How to Photograph an Eclipse (Without Something Going Wrong)
This is a short guide designed to give a few basics about how to photograph an eclipse, for beginners. Advanced astrophotographers will likely find many gaps, simplifications, etc., in this guide, and that's okay - this guide is for someone who has a camera, heard there was going to be an eclipse, and wants to do something cool.
This guide is mostly about how to photography safely in a way that will actually produce a useful image; artistic ideas (how to frame the sun, compositing multiple images, stacking exposure-bracketed images) aren't discussed. Tracking mounts (that track the sun across the sky) are out of scope as well.
First things first: Safety
The sun is bright [citation needed] and it can damage your eyes. It can also damage camera equipment, which is less important. So first off:
- Never, ever, ever look at the sun through the viewfinder of a DSLR.
This applies even if you are using a solar filter. This applies even if your camera is off. This applies even if you're pretty sure you're in mirror lock-up mode or using live view. Please, please, never do this. The pupil of your eyeball is about 2mm wide. A (for example) 300mm f/5.6 camera lens has a "pupil" that is 3000 times bigger than that. This means (simplifying!) that looking at the sun through your viewfinder for half a second can deposit as much energy in your eye as staring at the sun with your naked eyed for half an hour.
If you are using a solar filter, this is even worse. Many filters (like normal camera ND filters) will filter visible light quite well, but not do a good job filtering UV or infrared light. This means that your "flinch" reflex that makes you close your eye and look away doesn't work. You don't feel any pain. You see something that looks okay to look at. Meanwhile you are getting just as much infrared radiation and your eye is cooking. Tape over the viewfinder in your DSLR, put your camera in live view, and only look at the screen.
If you don't know if you have a DSLR (or rangefinder, or other camera where this matters) - if you can look in the viewfinder while the camera is off, and you can see something, then this applies to you. If you are using a mirrorless camera (where the viewfinder is actually a little electronic screen), then this does not apply, and you can use the viewfinder as much as you want.
Phases of an eclipse
A solar eclipse has two phases: partial eclipse, and totality. A partial eclipse is when the moon partially covers the sun, but not entirely. If you're just standing outside, nothing seems particularly noteworthy - the sun doesn't really get darker, shadows look a little weird maybe but that's it. For the August 12 2026 eclipse, a partial eclipse will be visible to huge parts of the world, including Washington DC and the northeastern US and Canada, Monrovia and much of northwestern Africa, and almost all of Europe from Lisbon to Moscow. Note that you need solar eclipse glasses to look at a partial eclipse with the naked eye.
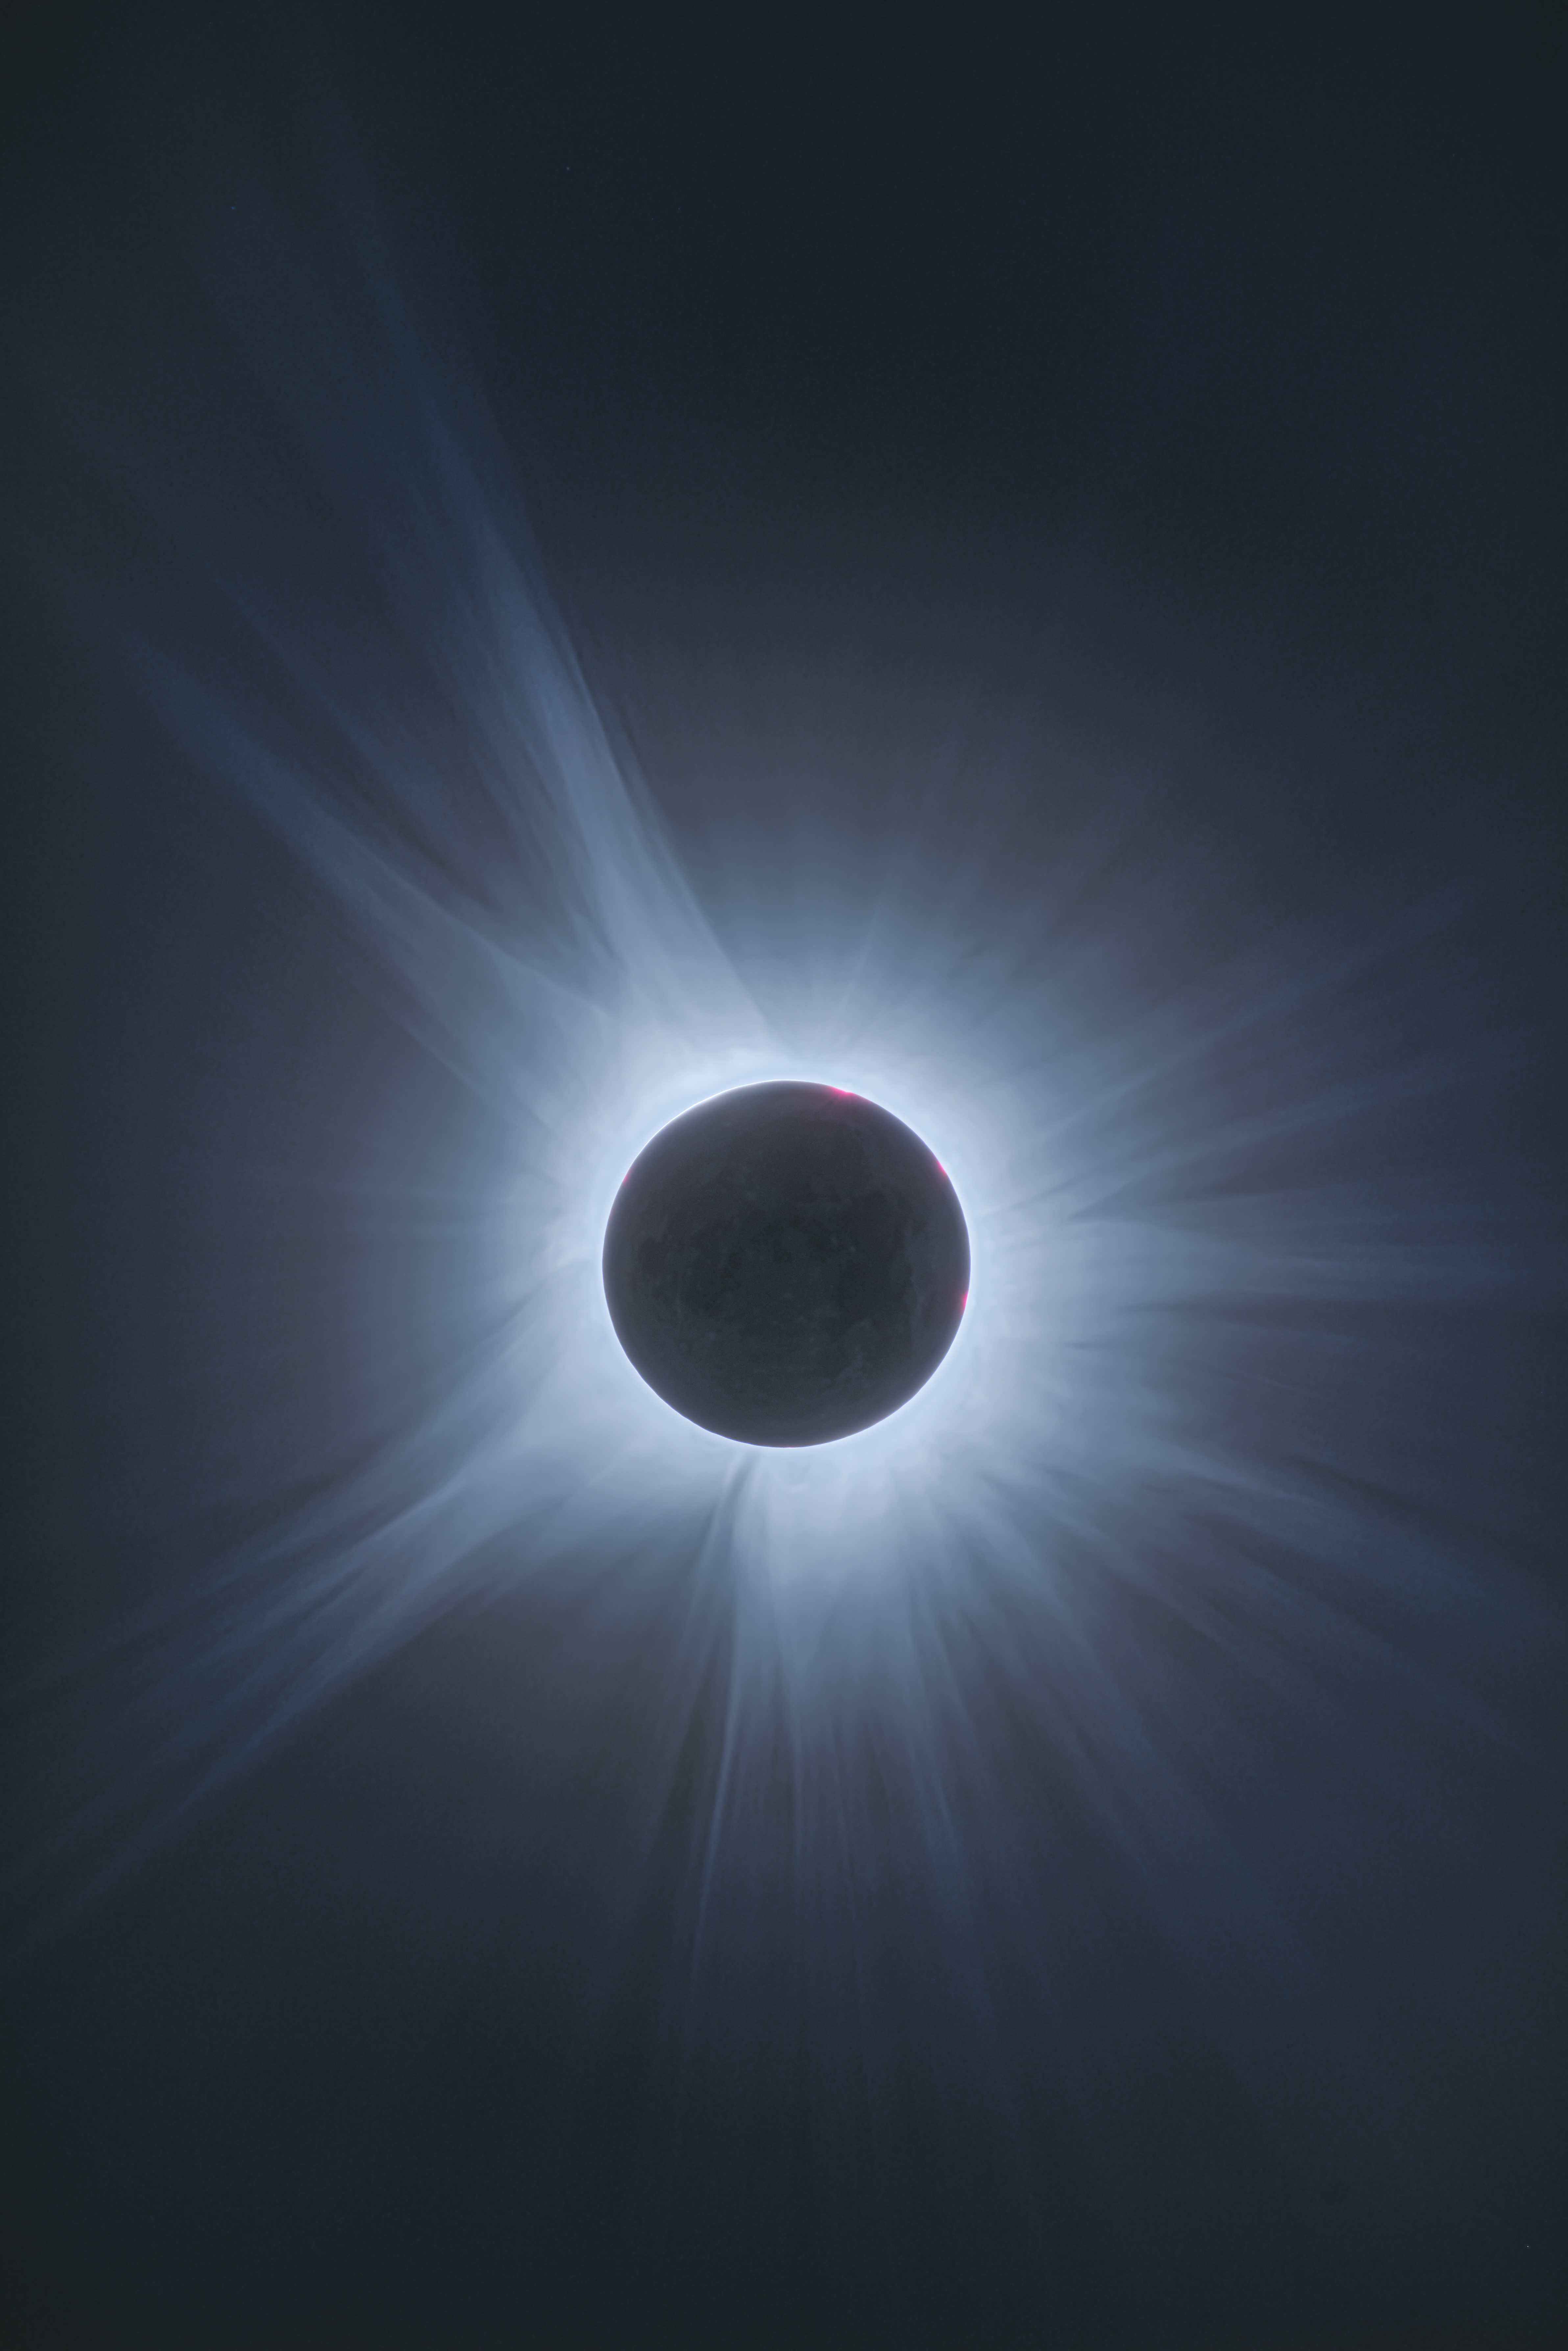
Totality occurs when the sun is fully blocked by the moon. This is when the sky darkens, a magnificent corona is visible to the naked eye (with no eclipse glasses), traffic stops, and the birds freak out and cows start coming home. It is one of the most magnificent things ever visible in the sky. For the August 12 2026 eclipse, a total eclipse will be visible in Reykjavik, and in Spain in a path roughly between León and Mallorca. During totality, you do not need a solar filter, and should remove it, if you are using one.
Choosing a lens
The sun, in addition to being bright, is also very small [citation needed - dubious]. It is about half a degree wide, which is about the same size as a 5'6" person standing 600 feet away, or a 180cm person standing 200 meters away. Imagine taking a picture of that with the lens you're planning to use. Often, for solar photography, you will want to use whatever lens you have with the longest focal length, to get as much detail from the sun as possible.
The alternative, instead of a close picture of the sun itself, is to use a lens with a lower focal length and take a picture of the sun in a landscape. In this case, you would typically want to take eclipse photos during the eclipse and then take a "normal" landscape photo at a different time, and composite the images together. You probably still don't want to use a "wide angle" focal length, or if you do, be prepared to crop in a lot. If you shoot with a 35mm lens on a camera like the Canon R6 (a 24MP full frame sensor), the sun will only be about 50 pixels across.
Feel free to stop your lens down to f/8 or f/11. You have plenty of light!
Photographing a Partial Eclipse
To photograph a partial eclipse, you should use a solar filter. This filter serves two purposes. First, it makes the sun much darker, so that you can actually take a picture of it that isn't completely blown out. Second, it prevents all the energy from the sun from reaching your sensor and destroying it.
The most standard solar filter to use with a camera is a 16-stop ND filter (like this one). This reduces the incoming light by a factor of 100,000x. These are also sometimes called ND100000, or 16.5 or 16.6 stop, or ND5. As a simple example, during a partial eclipse, my camera at ISO 100, 1/500s, f/7.1, took a picture with a 16-stop filter where the sun was properly exposed. If you don't have a 16-stop filter, but you do have a 10-stop filter and a 6-stop filter (maybe from a filter set you already own), you can stack those, and that will work just fine.
In addition to ND filters, there are other options. You can use solar filter sheets made from Mylar to cover the front of your lens, like this one. These are a bit more fragile, and you need to carefully check the film for pinholes or rips. You can use a sharpie to cover up any pinholes without any meaningful degradation of the image, as long as there are just a few.
Using a filter also means that everything that isn't the sun will be pitch black. Remember, if you are doing a landscape composite, you will need to take a picture without the filter, and then composite them together. You will want to focus on the sun, since it is the only thing you can see. You can start off, though, by focusing on a distant building before putting the filter on, to get your initial filter close.
If you are using a solar filter, your camera is well protected from the heat of the sun, and you can leave it pointed at the sun for many minutes or hours. If your camera has an interval timer, you can put it on a tripod and have it take pictures as the eclipse progresses - or if it doesn't, you can just push the shutter every now and then. You will need to re-center the sun in the camera as it moves across the sky.
In general, at 300mm focal length, expect to recenter approximately every 5-10 minutes, depending on your sensor size and which direction it's moving in your field of view. At 600mm twice that often; at 150mm, half that often. You can get your camera pointed at the sun by looking at its shadow - when the shadow of the lens completely disappears, that means the lens is pointed directly at the sun.
You can practice all of this on the days before the solar eclipse. The sun is just as bright while partially eclipsed, and all of this advice applies exactly the same to photographing the full sun (and you might even see some sunspots!).
Photographing a Partial Eclipse without a Solar Filter
It's best to photograph a partial eclipse with a solar filter. If you don't have one, you will have a very hard time getting the sun dark enough to avoid entirely blowing it out. Set your shutter as fast as you can, and stop down your lens aggressively (f/16, f/22, etc). Focus on a distant building. Then point the camera at the sun, take a picture, and point away from the sun. You want to expose the sensor to the sun's heat as little as possible. If you are using a wide-angle lens with a small aperture, you can probably get away with doing this, giving the sensor time to cool down between shots. If you are using a big telephoto lens with a large aperture, I can't really recommend this.
Even doing this, the sun will likely be extremely bright and blown out. Instead, consider other options. For example, use pinhole projection to create an artistic target, and photograph that.
Photographing Totality
Total solar eclipses are rare and hard to come by. If you are lucky enough to be able to see one, strongly consider whether you want to spend the precious few minutes fumbling with camera settings. If you do want to photograph totality, you do not need any solar filter - and you should take it off, if you are using one (make sure to put it back on when totality ends!).
The sun's corona covers a huge dynamic range - the innermost parts are thousands of times brighter than the outer parts. Use exposure bracketing - taking some photos in the 1/1000s range, some in the 1/100s range, 1/10s, and 1s, to capture the different parts of the sun.
The outer corona can easily extend to be much, much larger than the sun's disk - a 300mm or so (full-frame equivalent) field of view might be needed to capture it all. Capturing the outer corona is more difficult than the parts of the eclipse closer to the sun, and is difficult without a tracking mount. For most inexperienced solar photographers, I would suggest focusing on fast shots (in the 1/50 or faster range) and focusing on the inner parts of the corona.
Take a few shots and then go back to admiring totality in person. I highly recommend using some binoculars to observe it (just make sure to put the binoculars away before totality ends!).
End
Hundreds of millions of people will be able to experience at least some amount of partial eclipse during the August 2026 eclipse. Photographing it is a chance to experiment with a very rare phenomenon and if you choose to, I hope you enjoy it. I highly recommend practicing first - remember, anything you can do during a partial eclipse, you can do during a normal full sun. Partial eclipses are also - well, a bit underwhelming with just the naked eye, so challenging yourself to do something interesting photographically can be a great idea.
There are many websites that will help you plan when and where the eclipse will occur - for example, timeandate. If you want to know where the sun will be - just go out the week before the eclipse at the approximate eclipse time, and that's where it will be!
I hope this has been helpful. Feel free to raise any questions or thoughts in the #astro channel of the Focal Point discord.
A note on where to buy solar film and glasses: Amazon (and eBay, and random pop-up storefronts) are full of solar filters and eclipse glasses that are either mislabeled or straight-up counterfeit, sometimes with a fake certification sticker slapped on. Stick to established solar filter manufacturers, like Baader Planetarium or Thousand Oaks Optical. And whatever you buy, check that the ISO 12312-2 certification is printed directly on the film or glasses themselves, not just claimed somewhere in the listing description.