How to Use the Flashback and the NomadCam Portal
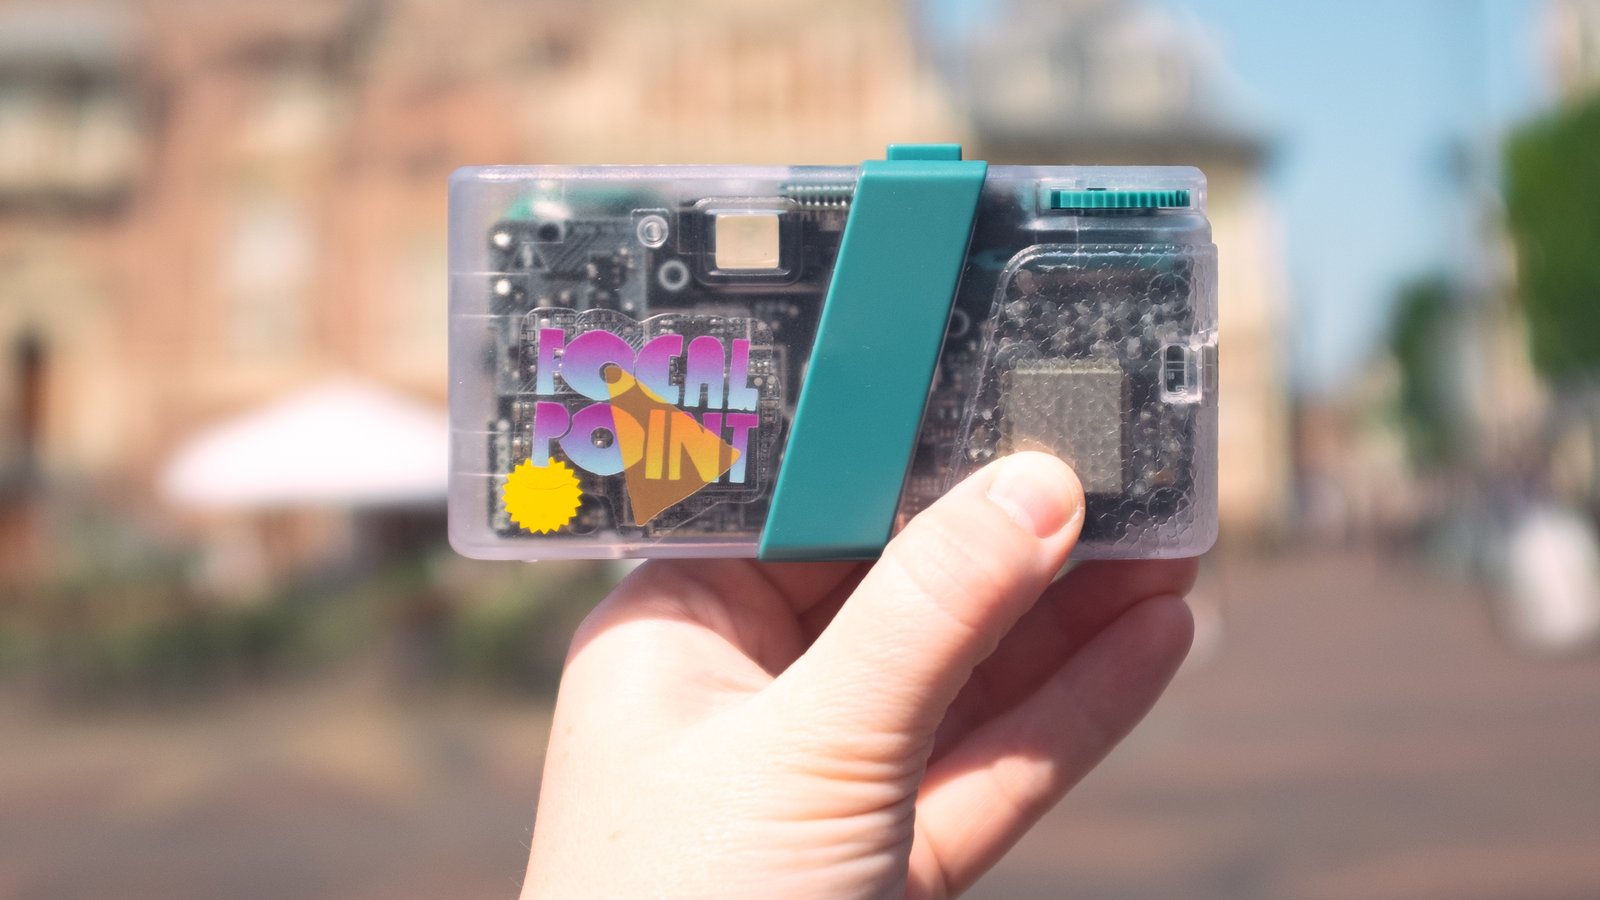
NomadCam is Focal Point's shared camera project. One camera moves through the community, from photographer to photographer, each person keeping it for about a week before mailing it on to the next person on line. The photos build a live map and gallery as the camera travels.
The camera itself is a Flashback ONE35 V2. It looks and shoots like a disposable, but every photo gets processed through the Flashback app instead of a lab, and that comes with its own quirks. Here's what the community has learned about getting good results out of it.
Shooting with the camera
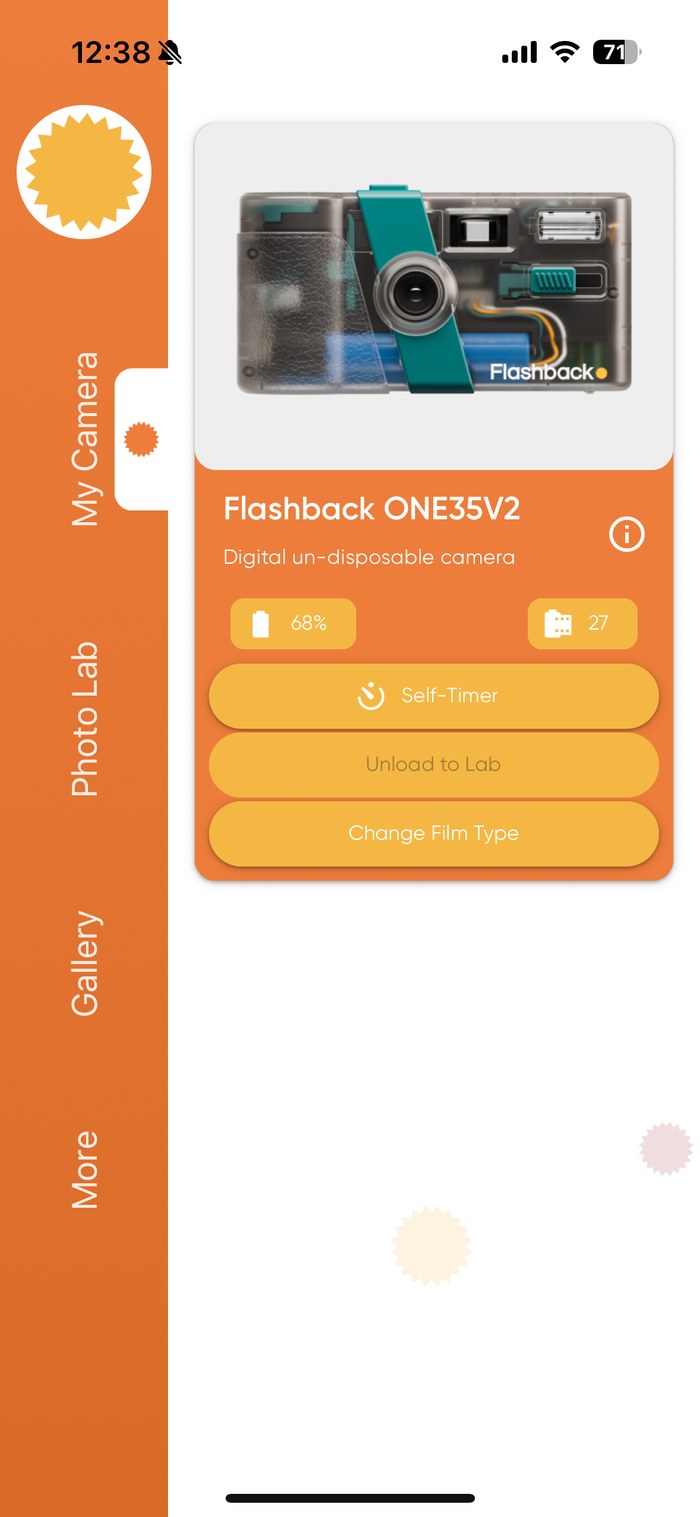
Keep your fingers clear of the lens and the sensor window when you're holding it. The body is small enough that it's easy to rest a thumb right where it shouldn't be, and you won't always notice until the photo comes back with a soft, dark edge. Also the actual focal length is a lot wider than what you see in the viewfinder, so you'll find that your photos show more than you see when shooting.
The camera also sleeps on its own after a short stretch of not being used. Our best estimations so far are 3-5 minutes. To wake it back up, wind the wheel. It can take longer than you'd expect to fully wind, so just keep on winding.
Film simulation is set for the whole roll, not per shot, and you choose it inside the Flashback app. Whatever you pick is what every photo on that roll will carry, so even if you change the sim mid-shooting, the entire roll will take on the one selected when you go to "develop."
Developing and exporting your photos
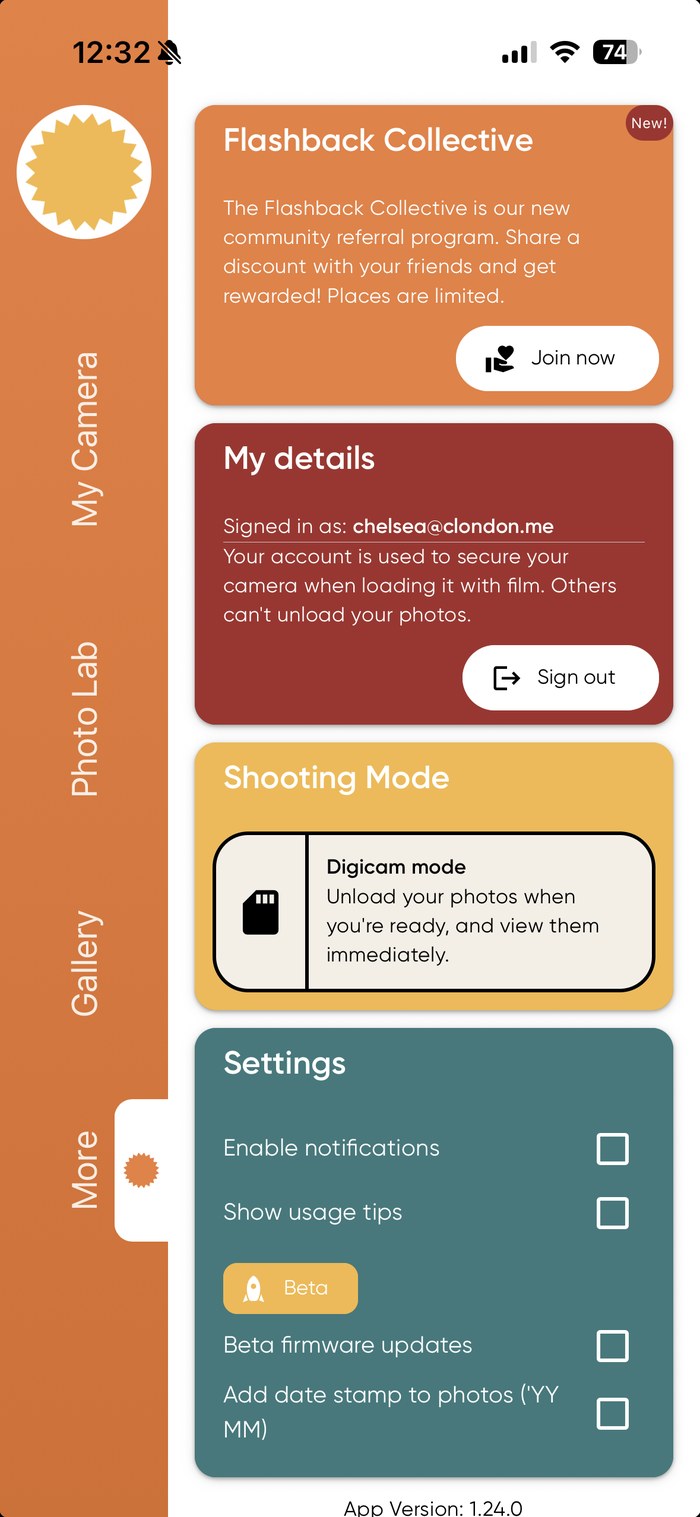
By default, photos from the Flashback don't show up instantly. They get sent off for processing, and the official wait is 24 hours. There's a digicam setting in the app that skips that wait, though it caps you at three rolls processing at once, so it's worth turning on if you're shooting more than the occasional roll. To change this setting in the app, go to "More" and select the appropriate shooting mode.
The app is also the only place to control which film look gets applied and to get finished JPEGs out of the camera. If you'd rather skip the built-in looks and process the images yourself, plug the camera into your computer and pull the raw files off before you develop them in the app.
Once a roll has gone through developing, the film look is already baked into the files, and there's no getting back to a clean raw from there. Grabbing the raws first is what lets you bring them into your processing software of choice and treat them like any other raw import.
Note: exporting "negatives" doesn't give you a true raw file. It gives you a JPEG without any of the film simulations applied. If you want the raws, you must always connect your camera to your computer to pull your raw files before developing in the app.
Getting photos off the camera
The Flashback connects over WiFi, either through its own hotspot or a home network, or over USB-C. The USB-C cable is the fastest option if you have one on hand, worth reaching for when you're transferring a full roll.
Hotspot transfer is a solid fallback and works reliably for most people.
WiFi behavior isn't identical across platforms though: iOS and Android handle the transfer and reconnection a little differently, so if a transfer stalls or drops, try switching connection methods before assuming the camera itself is at fault.
Raw conversion, for the tinkerers
The raw files that come off the Flashback aren't a standard format. They won't open in Lightroom or similar software as-is, they need to be converted first. One Focal Point community member built their own tool for exactly that: Backflash Local converts the camera's raw sensor dumps into DNG, TIFF, or JPEG and runs entirely offline, either as a drag-and-drop web page or from the command line.
There's also Flashback Raw Editor, a desktop app for Mac, Windows, and Linux with its own film emulation pipeline for grain, halation, and vignette.
Both are free and open source, and neither is required to use the camera, but if you want to work with the raws outside the app, one of them has to come first.
Using the NomadCam portal
All participants can check their status on the NomadCam dashboard, including where they stand for the camera. Once it's your turn, the dashboard is also where you confirm you're ready to receive the camera when your turn comes. That confirmation is what keeps you on line: if it doesn't come through, you risk getting skipped and moved to the back of the line, so don't sit on it once you get the notice.
There's also a private NomadCam channel on the Focal Point Discord. It's a good place for real-time questions and troubleshooting while the camera is actually in your hands, and also just to chat about where the camera is and where it's going.
The dashboard has two separate upload spots, and they're not interchangeable. One is for the photos you actually shot on the Flashback, which feed the public NomadCam map and gallery. The other is for behind-the-scenes photos and video of your time with the camera, which Focal Point uses on its own social media. Keep NomadCam shots in the first spot and everything else in the second.
NomadCam runs on donations. If you want to support the project directly, there's a Ko-fi page for that.
Sharing what you shoot
Photos and video you take of or with the NomadCam camera are welcome on Instagram and TikTok. When you post, add @focalpoint.hub as a collaborator on Instagram and @nomadcam.fp as a collaborator on TikTok, so the post shows up on both accounts.
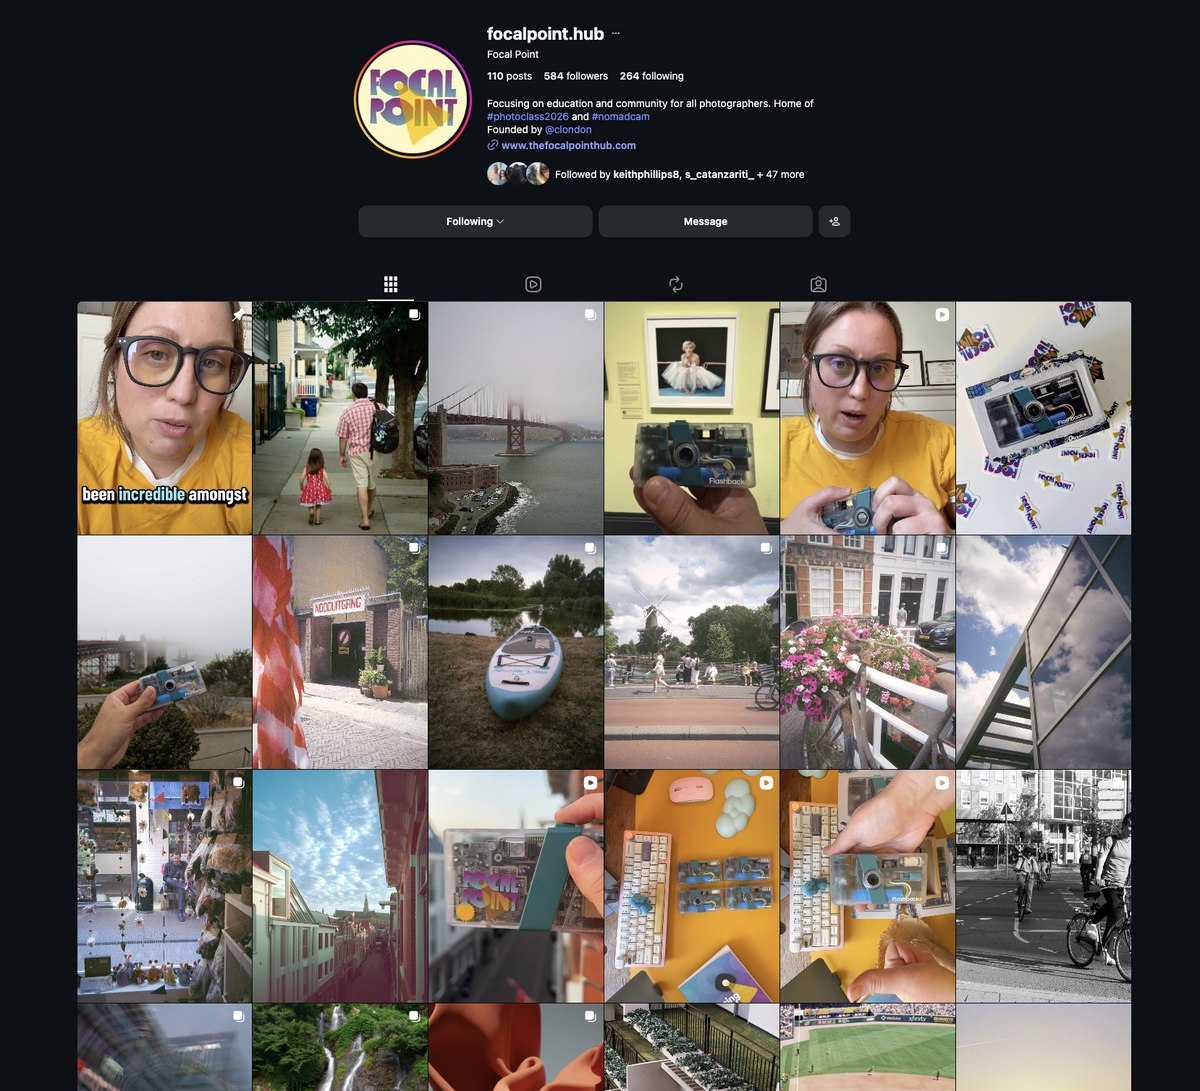
On Instagram, add the collaborator while you're creating the post: on the tag people screen, choose "Invite collaborators" and search for @focalpoint.hub. If the post is already live, open it, tap the three-dot menu, choose "Edit," then "Tag people" and "Invite collaborator" from there. The invite has to be accepted before it shows up on both profiles, so give it a moment after you send it.
On TikTok, add the collaborator before you post. There's no way to add one afterward. On the posting screen, look for "Invite collaborators," sometimes tucked inside "Tag people," and search for @nomadcam.fp there. The feature is still rolling out to accounts, so if you don't see the option, tag and credit @nomadcam.fp in your caption instead.
The camera is only with you for about a week before it moves on to the next photographer, so it's worth getting comfortable with the app in the first day or two, before you're several shots into a roll.